> ## Documentation Index
> Fetch the complete documentation index at: https://docs.crafter.net.tr/llms.txt
> Use this file to discover all available pages before exploring further.
# Quick Setup
> Get started with Crafter in less than 5 minutes.
## Setup Steps
Follow these steps to start using Crafter and manage your own server website.
### 1. Create a Crafter Account
As a first step, you need to register on the Crafter platform. You will manage all your websites and settings through this account.
Fill out the registration form and verify your email address to create a free Crafter account.
***
### 2. Add a Website from the Admin Panel
After successfully logging in, your admin panel (dashboard) will greet you. From here, you can start your project by creating a new website registration.
* **Log in to the Admin Panel:** Log in with your registered credentials.
* **Find the "Create New Site" Button:** Click on this button in the panel.
* **Enter Your Site Information:** Complete the registration by entering basic information such as your site's name and address in the form.
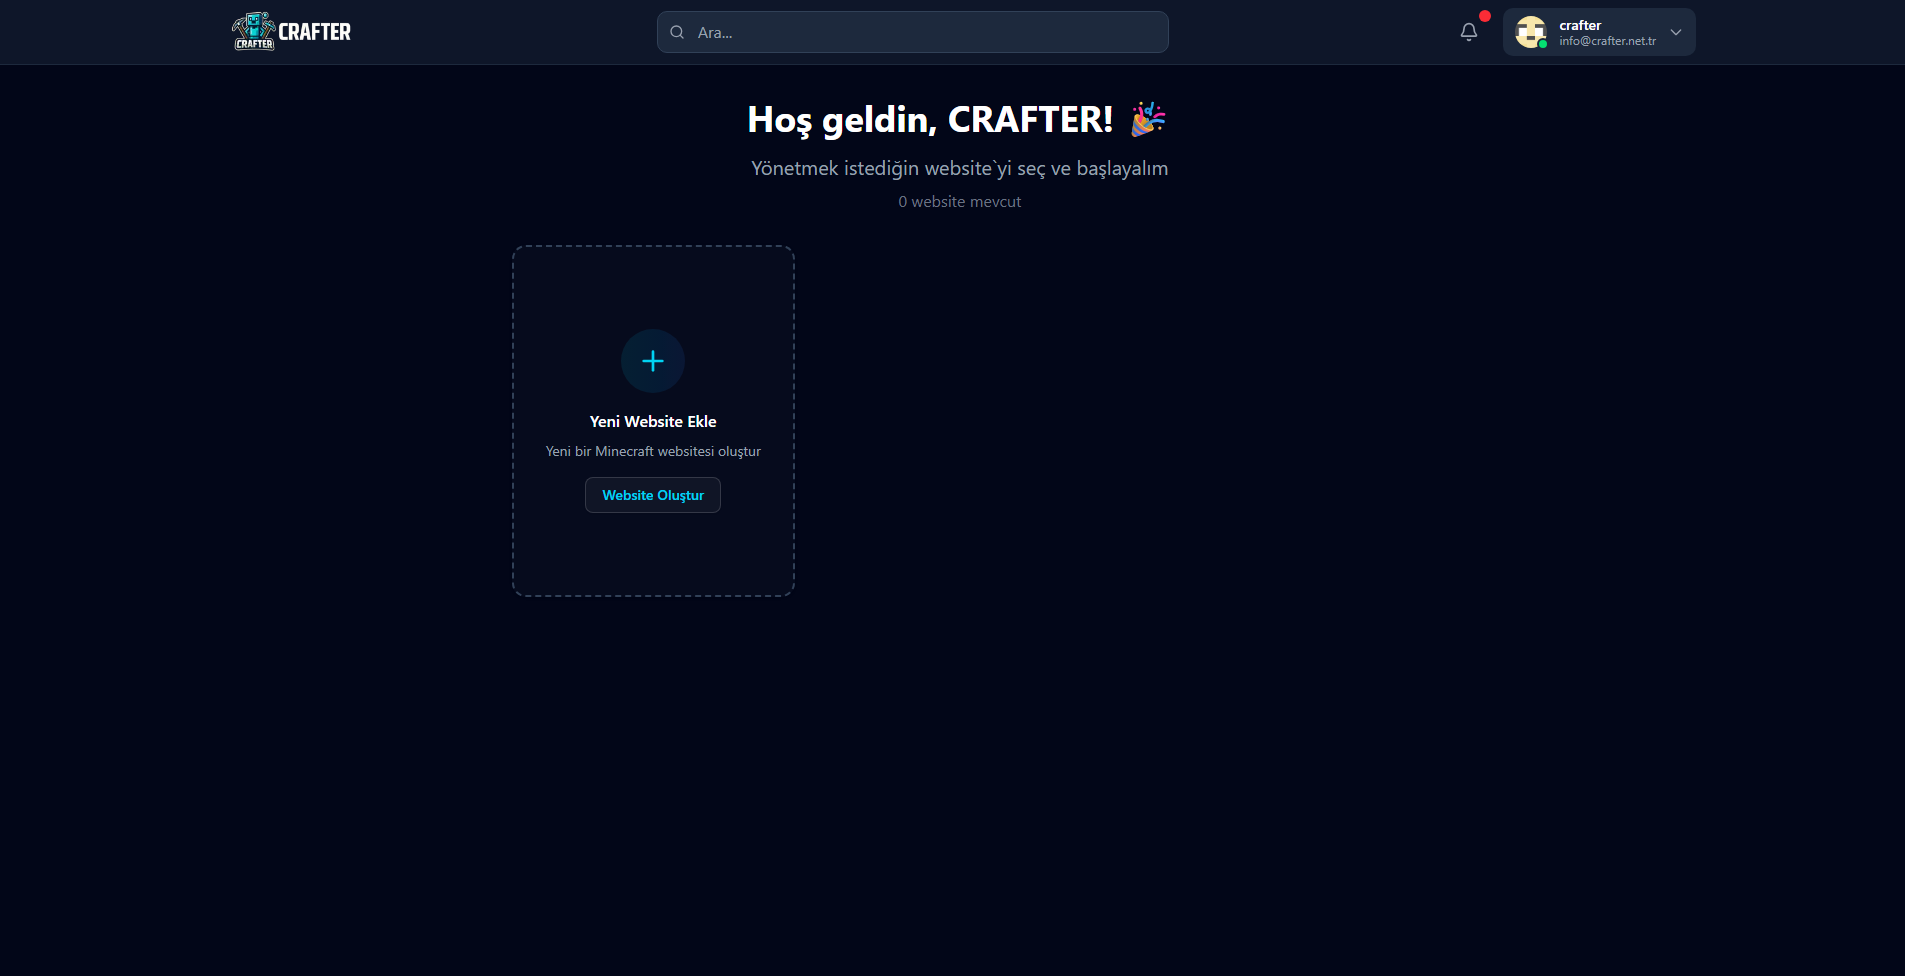 *You can update the image above with your own panel screenshot.*
***
### Pricing
Check our prices, the most affordable and fastest game server CMS solution - Crafter!
### 3. Set Up Your Project Locally
Now that you've successfully created your website, it's time to set up the project on your own computer.
Clone or download Crafter's default theme (Crafter Default Theme) from GitHub to your computer as a ZIP file.
*You can update the image above with your own panel screenshot.*
***
### Pricing
Check our prices, the most affordable and fastest game server CMS solution - Crafter!
### 3. Set Up Your Project Locally
Now that you've successfully created your website, it's time to set up the project on your own computer.
Clone or download Crafter's default theme (Crafter Default Theme) from GitHub to your computer as a ZIP file.
git clone [https://github.com/EfeSorogluu/Crafter-Default-Theme.git](https://github.com/EfeSorogluu/Crafter-Default-Theme.git)
After entering the project folder, run the following command to install all required Node.js packages: npm install Or
yarn install
***
### 4. Configure Environment Variables (.env)
You need to set up environment variables for the project to communicate with Crafter services. This step must be completed before starting the project. Create a file named `.env.local` in the root directory of your project and paste the following content into it.
You can get your `WEBSITE_ID` and `LICENCE_KEY` information from your site settings in the [Crafter Admin Panel](https://crafter.net.tr).
```bash theme={null}
# .env
# You must get this ID and License Key from the site settings you created in the crafter.net.tr panel.
NEXT_PUBLIC_WEBSITE_ID=GET_FROM_CRAFTER.NET.TR
NEXT_PUBLIC_LICENCE_KEY=GET_FROM_CRAFTER.NET.TR
# Backend API address, you do not need to change this address.
NEXT_PUBLIC_BACKEND_URL="https://api.crafter.net.tr"
# The main URL where your site will be published.
# If you get a 'build' or 'app-config' error, set it to "http://localhost:3000" for the development environment.
NEXT_PUBLIC_BASE_URL="https://demo.crafter.net.tr"
```
***
### 5. Build the Project
The last step before being completely ready! Build your website to prepare it for launch.
npm run build
### 6. Start the Project
Once all setup and configuration steps are complete, use the following command to start the development server.
```powershell theme={null}
@echo off
title Crafter Launcher
set PORT=80
echo ============================
echo Crafter Launcher
echo ============================
npm run start
if %errorlevel% neq 0 (
echo.
echo An error occurred! Do you want to exit? (Y/N)
set /p answer=
if /I "%answer%"=="Y" exit /b
goto :eof
)
pause
```
If you are working on Windows, update the "start" command in the package.json file with "next start -H 0.0.0.0".
```bash theme={null}
#!/bin/bash
echo "============================"
echo " Crafter Launcher"
echo "============================"
export PORT=80
npm run start
if [ $? -ne 0 ]; then
echo
read -p "An error occurred! Do you want to exit? (Y/N): " answer
if [["$answer" == "Y" || "$answer" == "y"]]; then
exit 1
fi
fi
```
Before running the Linux file, make it executable with chmod +x start-crafter.sh.
***
## Next Steps
Learn how to integrate with Crafter's powerful API
Set up payment systems for your server store
Connect your Minecraft, FiveM, Rust, or CS2 server
Protect your site with Cloudflare Turnstile
## Need Help?
Get help from our community and stay updated with the latest developments.